- Blog
- How to Add a New Balance to Your Multicurrency Wallet
February 11, 2026
How to Add a New Balance to Your Multicurrency Wallet
Need to add another currency to your Yousend wallet? This quick guide walks you through opening a new balance—whether it’s GHC, NGN, USD, or EUR. Takes about 30 seconds, starts at zero, and lets you organize your international transfers without the usual headache.

Peter
Reading writer
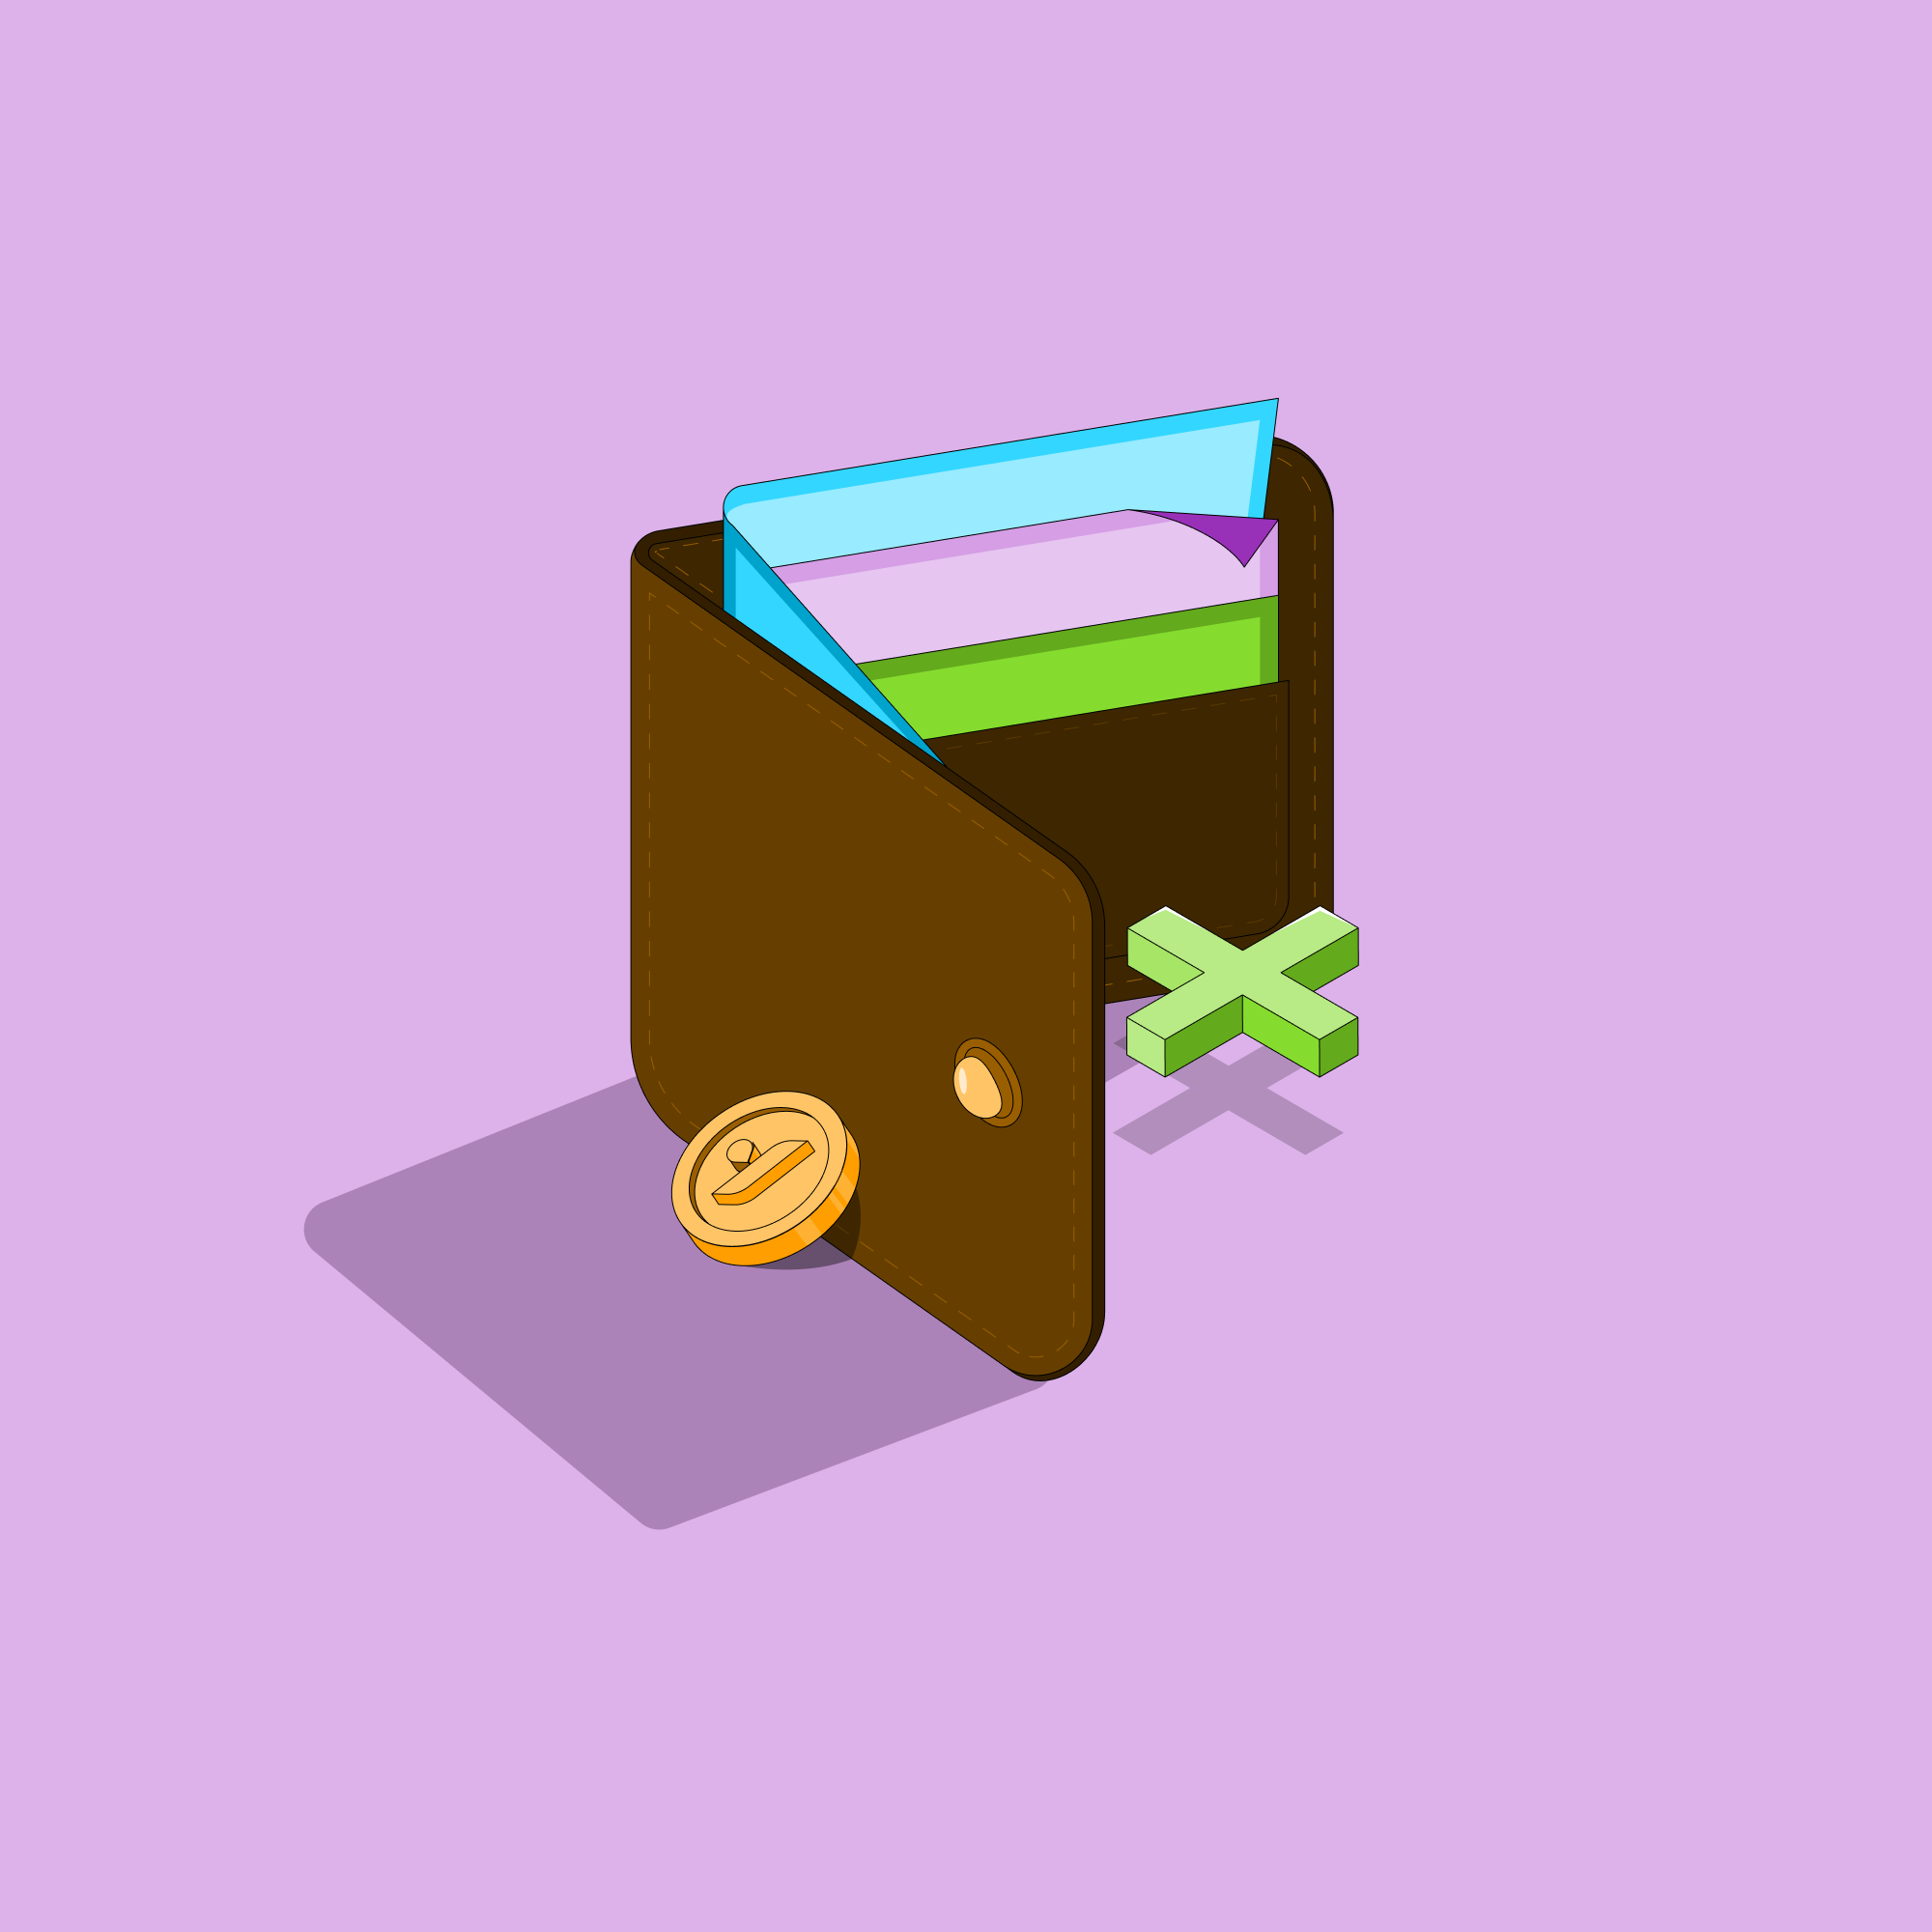
Managing multiple currencies in Yousend is pretty straightforward. Here’s how to add a new balance, whether you want to hold GHC (Ghanaian Cedi), organize your international finances, or just set up another currency for future transfers.
Step 1: Open Your Accounts List
Log into the Yousend app. You’ll see your main balance (GBP, CAD, whatever you started with) on the home screen.
Tap on the “Accounts” menu to see your active wallets. At the bottom of that list, there’s a “+ Add New Balance” button. Tap it.
Step 2: Pick Your Currency
You’ll land on the “Add a balance” screen. Browse or search for the currency you want:
- GHC (Ghanaian Cedi) – for Ghana transfers
- NGN (Nigerian Naira) – for Nigeria transfers
- GBP/CAD – for broader international use
Tap your choice. The app processes it immediately.
Step 3: Check Your New Balance
Your new wallet appears right away in your account list. It starts at zero until you fund it (either through a bank transfer or by converting from another balance).
Now you can switch between wallets to track different currencies separately. Each one shows its own transactions and real-time exchange rates.
Why bother with multiple balances?
A few reasons people do this:
- Timing the market – hold funds in one currency, convert when rates improve
- Organization – keep your remittances separate from daily spending
- Speed – with a dedicated GHC balance, transfers happen in about 2 seconds at competitive rates
That’s it. Open the app, add a balance, and you’re set.